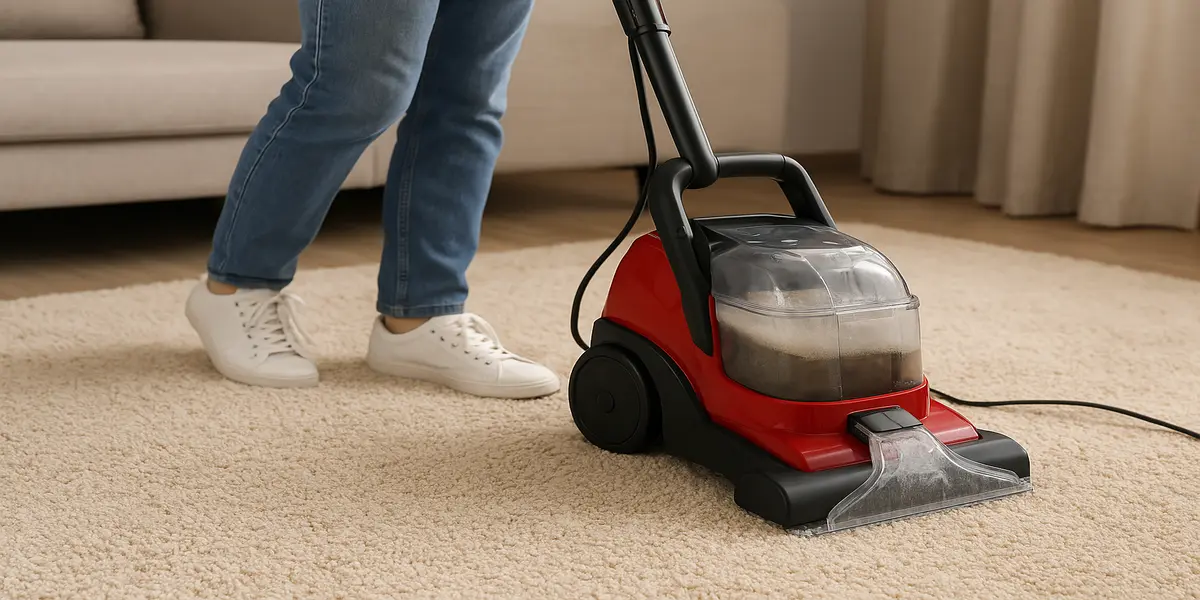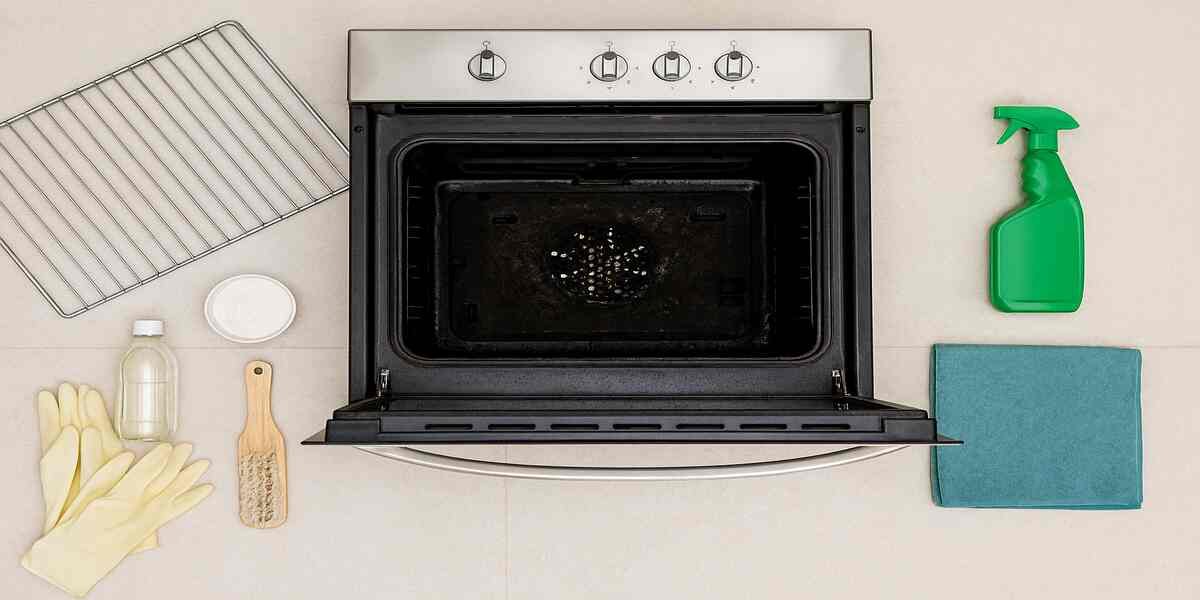
Steps for Quick & Easy Oven Cleaning
Have you ever opened your oven door and wondered, How are all these marks on it? Or you swore to yourself you would attack the mess after the roast last weekend, but here you are, again, looking at the hard-to-clean grease and rusty stains. Oven cleaning does not necessarily have to be a nightmare, as most people make it out to be.
Actually, oven cleaning can be fast, efficient and even somewhat gratifying, given the right method. When you want a clean kitchen centrepiece within record time, you have come to the right place. We will take you on a tour of six great strategies as per bond cleaning for cleaning an oven in a jiffy, so that you can rekindle that new shine without the need to take hours working on it.
1. Gather Your Tools First
Be ready to achieve success before you dive into cleaning the oven. The supplies you would require are baking soda, vinegar, a spray tube, a microfiber cloth piece, rubber gloves and a small scrub brush. In their presence, it is guaranteed that the process is conducted without any difficulties. Something to think about is imagine it is your cleaning recipe and you cook it.
2. Get out the Racks and Soak Them
Most grease and grime are frequently found on your oven racks. Get them out and put them into hot, soapy water or vinegar and baking soda. Have them sit whilst you pay attention to the interior of the oven. The racks will be ready to be light-scrubbed and rinsed by the time you finish.
3. Prepare a Home Cleaning Paste
Do not use harsh chemical sprays; instead, use a gentle yet powerful substitute. Place one half cup of baking soda into a couple of tablespoons of water and create a paste. Add this mixture to the oven, coating the base, sides and door. This is a necessary step in oven cleaning, as baking soda will loosen even the most difficult stains without leaving surfaces.
4. Let It Sit and Work Its Magic
Patience pays off here. Overnight (or at least a few hours in case you are in a hurry), leave the baking soda paste on. In this period, it softens residues that are burnt on, so the process of scrubbing becomes easier and quicker. This small wait will prevent the oven cleaning from becoming a war of never-ending scrubbing.
5. Spray Vinegar and Clean
After the paste has dried, spray the inside of the oven with vinegar. The carbonated reaction aids in lifting off dirt and the excess residue. Clean all this with a wet microfiber cloth, and you will already see the difference in shine.
6. Give the Finishing Touches
Clean the racks you have wetted now, and put them back. Wipe down the oven door and oven knobs. In the event that you desire more shine, one final wipe with a piece of cloth caps it all off, as per bond cleaners . These steps make oven cleaning not only feel effortless but also rewarding.
Conclusion
Cooking does not need to involve cleaning up dishes for hours, leaving you tired. These six ultimate steps will allow you to address grease, grime and stains efficiently and save time. It can be daily maintenance or cleaning up the kitchen right before visitors; now you have a fool-proof way to make your oven look just as fresh as the food you cook in it — just like regular window cleaning keeps your home bright and spotless.